Page 59 - Turner 1st sem Practicals
P. 59
Job sequence

            •  Take different instrument to measure different jobs and  •  Record the measurement in table.
               fill the table.


            Skill sequence


            Measuring with inside and outside calipers

            Objectives: This shall help to
            • select the right capacity caliper for measurement
            • set the sizes both in firm joint and spring calipers
            • read the sizes by transferring them to a steel rule or other precision measuring devices as the case may be.

            Outside calipers: Select a caliper based on the diameter
            to be measured.
            A 150 mm capacity outside caliper is able to measure
            sizes from 0-150 mm.
            Open out the jaws of the calipers until they pass clearly
            over the diameter to be measured. The work must be
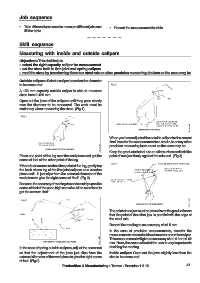
            stationary when measuring the sizes. (Fig 1)


                                                                  When you have adjusted the outside caliper for the correct
                                                                  ‘feel’ transfer the measurement to a steel rule or any other
                                                                  precision measuring instrument as the case may be.

                                                                  Keep the graduated steel rule on a flat surface and hold the
            Place one point of the leg over the workpiece and get the  point of one jaw firmly against the rule end. (Fig 4)
            sense of feel of the other point of the leg.
            If there is clearance on the other point of the leg, gently tap
            the back of one leg of the firm joint calipers on a wooden
            piece until   it  just slips from the external diameter of the
            workpiece to give the right sense of ‘feel’. (Fig 2)

            Because the accuracy of reading depends mainly upon the
            sense of feel of the user, high care should be exercised to
            get the correct `feel'.


                                                                  The point of one jaw must be placed over the graduation so
                                                                  that the point of the other jaw  is parallel with the edge of
                                                                  the steel rule.

                                                                  Record the reading to an accuracy of ±0.5 mm.
                                                                  In the case of precision measurements, transfer the
                                                                  measurements over an inside micrometer or vernier caliper.
                                                                  This measurement will give an accuracy of ± 0.01 or ± 0.02
                                                                  mm. Here, the sense of feel of the user is very important in
            In the case of spring outside calipers, adjust the screw nut  deciding the reading.
            so that the adjustment of the jaws just slips from the  Inside caliper: Open out the jaws slightly less than the
            external diameter of the workpiece to give the right sense  size to be measured.
            of feel. (Fig 3)
                                      Producltion & Manufacturing : Turner - Exercise 1.2.16                    47

